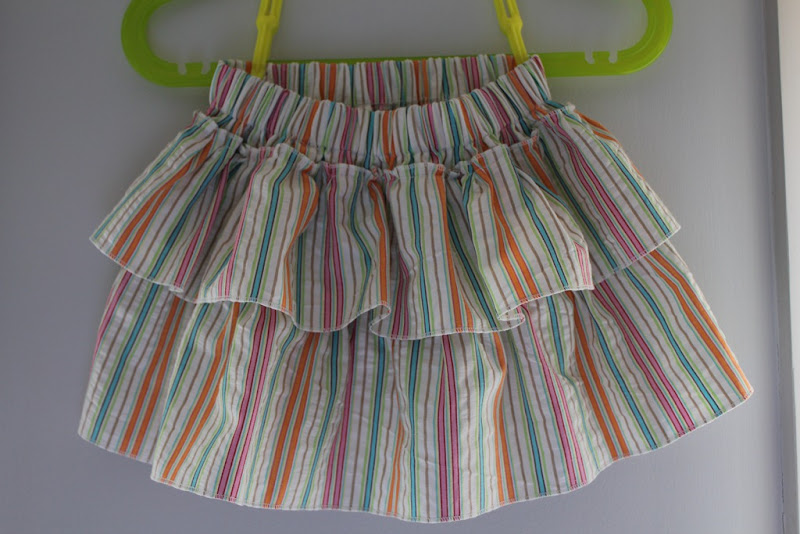
Want to make your own??? Well here we go. This skirt will fit a 6-12 month old depending on height and tummy size. This one is a Christmas present, and the little bubba will be about 7.5 months old come Christmas!
SUPPLIES
About 1/2 a metre/yard of a lightweight fabric (I used cotton seersucker, but really any fabric should work)
18” piece of 1” wide knitted elastic
1. Cut the main piece of fabric measuring 6.5” x 30” and the two ruffles measuring 4” x 45” and 5” x 45”.
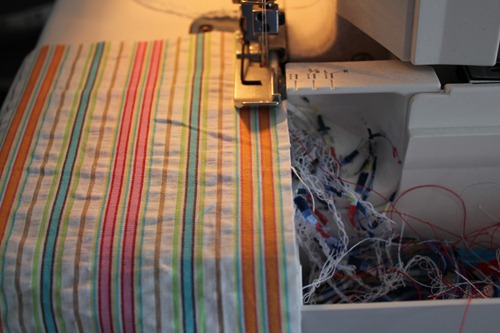
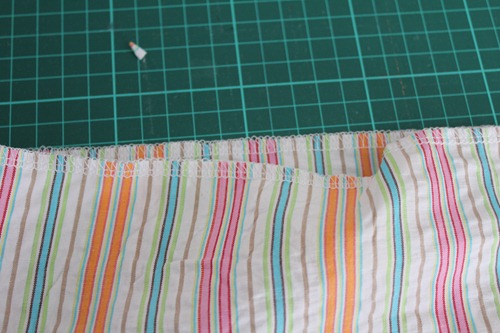
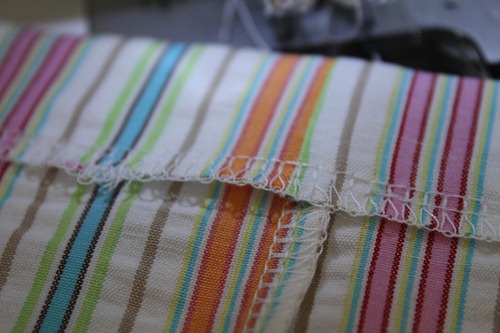
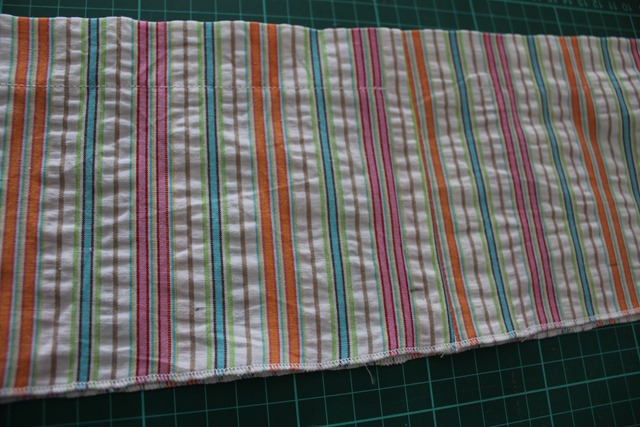
2. Overlock (serge) the sides of the main piece of fabric together (make sure the right sides of the fabric face each other). Overlock the top only.
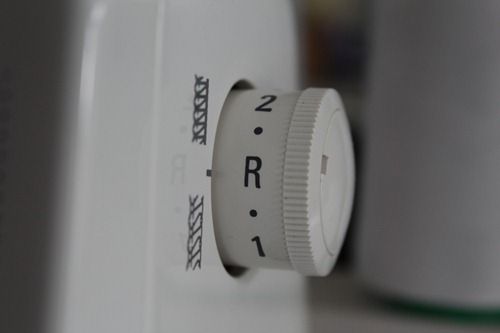
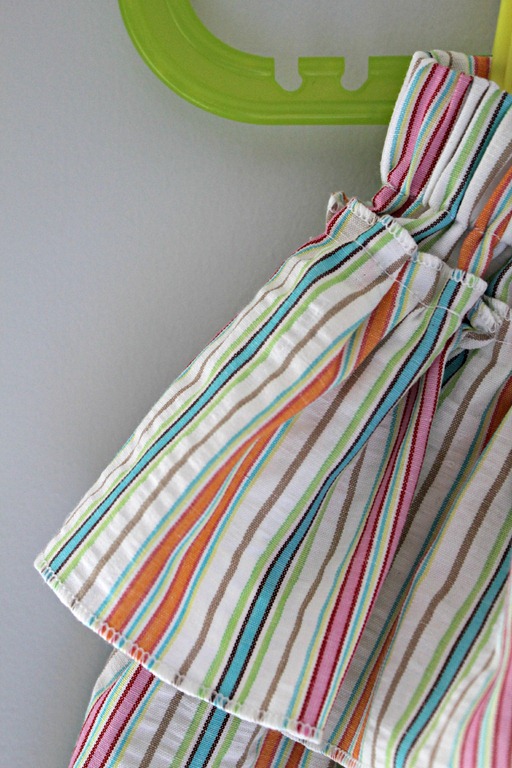
3. Time to get a bit fancy – a rolled hem! Adjust your overlocker to do a rolled hem (different machines convert in different ways but generally, you switch the tension knobby thing to R, lower the blade, slide the plate from S to R and remove the left needle, but check your book) and then roll hem both sides of the ruffle pieces and the bottom of the main piece! Look how neat it looks, totally professional looking right??
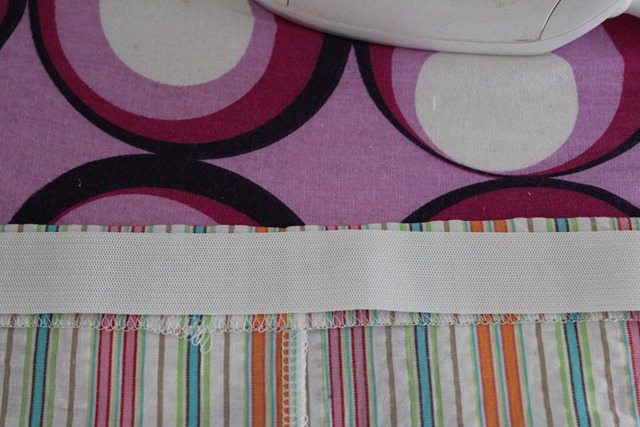
4. Time to get the iron out and measure your elastic casing, and press it down (trust me it makes life soooooooooooooooooooo much easier). Make sure you press it to the wrong side of the fabric. While you are at it give all the pieces a good press. (This isn’t essential but hey, the iron is out and on you may as well!)
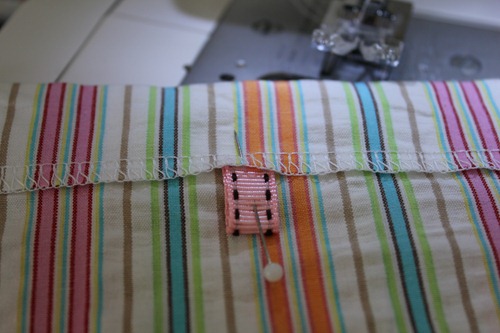
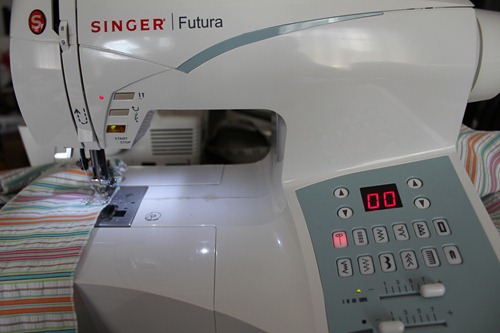
5. Here we use a bit of ribbon to mark the back of the skirt (I have labels from my old business but have decided until I get around to creating a new one, I am going to go old school and use ribbons, bits of fabric etc) so pin that in place and now using a sewing machine, sew the casing down stitching about 1/8” from the bottom of the casing. Make sure you stop about 2” from the end so we can insert the elastic later!
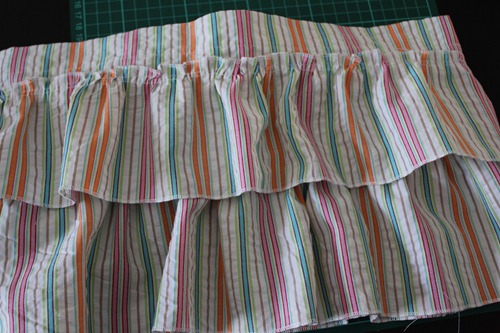
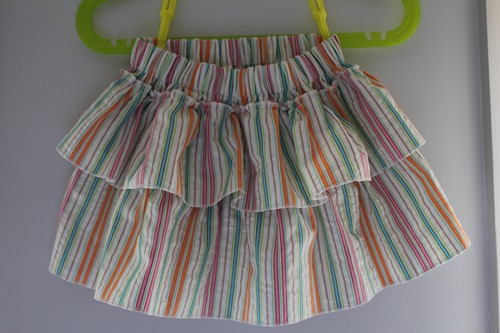
6. Lay the fabric out flat and get your tape measure/ruler ready we have to do a bit of marking. Now the reason one of the ruffles is longer than the other is cause the bottom one is sewn an inch or so under the bottom of the top one, so we need to mark the main piece to know where to sew the ruffles on. To do this place the top ruffle (smaller one) across the main fabric (right side out) about a 1/4” from the casing stitching (no need to pin its just a guide) now place the bottom ruffle (the bigger one) under the bottom of the fist about an 1” or so. Basically you want both ruffles to be the same size. Mark where the top of the bottom ruffle lies on the main piece and then mark lines around the main piece to know where to sew the bottom ruffle. Also mark the top ruffle. (Ok I have probably totally confused you, if so look at the final product photo, you should get what I mean.)
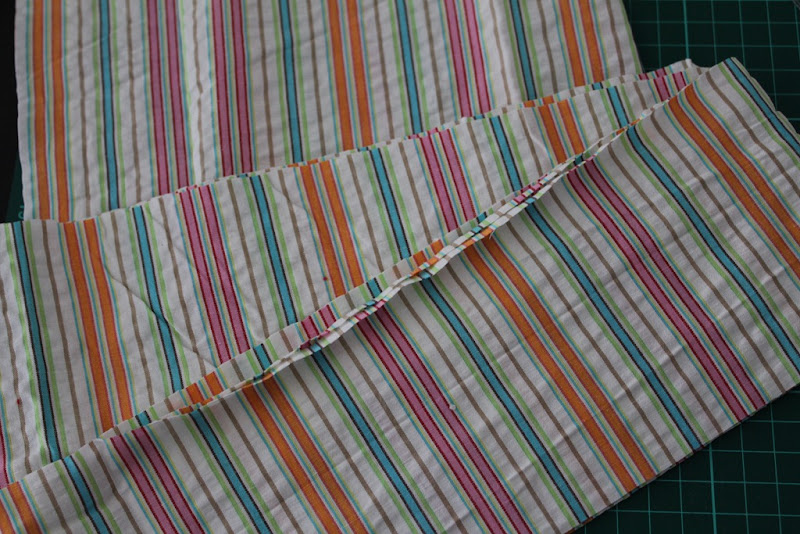
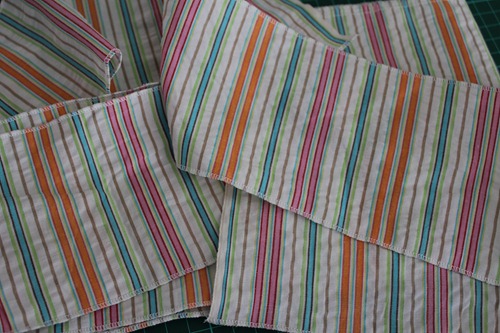
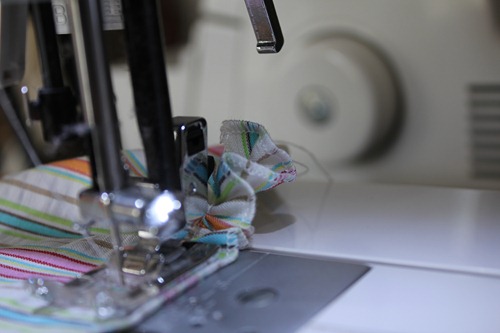
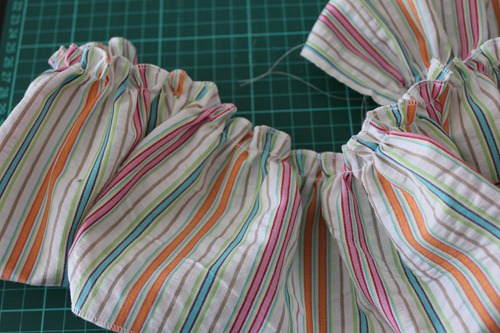
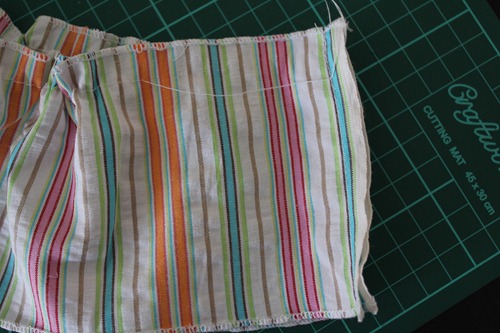
7. To make the ruffles, well ruffley(?), you need to gather the the top of both ruffle pieces of fabric. There is a number of ways to do this, but I find the easiest is to turn the tension dial on the machine to about 8-9 and make the stitch length as long as it will go. Then sew one long straight line 3/8” from the top edge (do not do the reversing thing at the beginning & end). Make sure you leave a loooooooooooong tail of cotton! Repeat for the 2nd ruffle. (See in the 2nd pic all ruffley)
8. Fold the ruffles in half, and move the gathering along until it will fit over the main piece without gathering it (the main piece that is) and I forgot a pic I’m sorry. Sew the side seam of the ruffle, right sides together. Repeat with the 2nd ruffle.
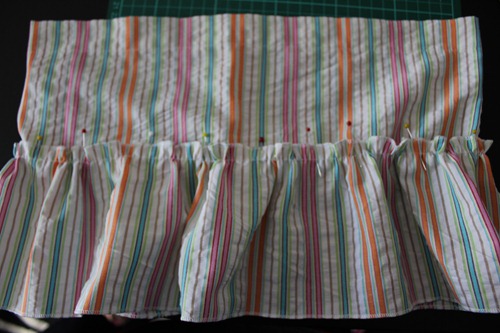
9. Pin the BOTTOM ruffle (The big one) along the bottom line you drew, matching the side seams (right side of ruffle out and pin on the right side of the main fabric). Sew ruffle on 1/4” from the rolled hem. Now pin the top ruffle on (The small one) and sew 1/4” from its rolled hem. Ta Daaaaaaa ruffles are attached, now remove the gathering stitching.
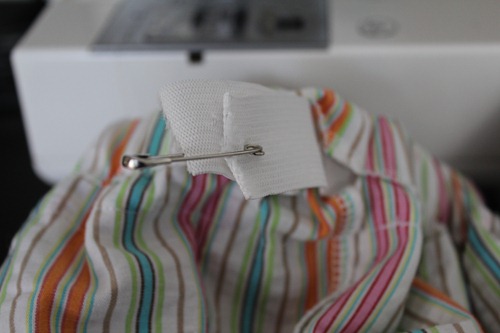
10. Put a safety pin in one end of the elastic and thread through the casing. Check fit on child (or guess like I did lol) and sew elastic together (make sure not to twist it. Been there, done that). Then sew your casing closed! Guess what? YOU ARE FINISHED. Cause we did rolled hems there is no hemming!!!! Yay!!!!!! Sit back and admire your awesome skirt!


No comments:
Post a Comment